Failure To Communicate | #1 Radio Failure (and how-to fix it)
TEST…TEST…TEST… Can you hear me… I hear you... can you hear me… Does your track communication experience sound like an early 2000s Verizon commercial? If so, keep reading to learn how to fix the most common radio issue I have experienced.
Nothing is more annoying than dealing with communications issues when you have more critical concerns. First and foremost, I am far from a radio expert, but I muddle through things with the best of them and I have used radios from probably every brand. From my experience, the push-to-talk button is the number one component to fail. When you think about what the PTT goes through, it's really no surprise. Drivers are not gentle beasts when upset. I have seen PTT buttons stretched like your belt at Thanksgiving. Still, it's okay, most manufacturers use quality components, and you'll typically find a broken connection that can be repaired.
Most of the time, the broken connection is on the steering wheel side. This is a prevalent and relatively preventable problem. Making sure that the wiring harness is secured to the steering wheel will significantly reduce the fatigue experienced at the fragile solder joints. This could be as simple as a zip-tie or as complex as a custom fabricated hold-down. The process you choose doesn't really matter as long as it is secure.

The racer in this situation was experiencing an all too common symptom. He could hear the crew chief but couldn't communicate back. Communication is everything in endurance racing. This failure quickly escalated into unprepared pit stops for the rest of the race. These issues are the worst because you know that an eight-cent zip-tie could have made all the difference. Once you have diagnosed the problem and are condemning the PTT, here is what to look for. You will want to check all the connections you can access. Some manufacturers make these more accessible than others. This will likely mean disassembling the quick connection side… don't panic. This is easy, unscrew the two halves and check all the solder joints, if everything is tight and looks good. Just screw it back together and move along. Next is the steering wheel side. For this example, you will see that the manufacturer uses a rubber boot and sealant in the boot to isolate the connections. This is a popular termination method, so it's a great example of this issue.
First, remove the boot. You will likely need to slide a thin knife around the circumference of the switch to release the old adhesive. Now that you have accessed the wires and connections, I bet one of the wires is broken.

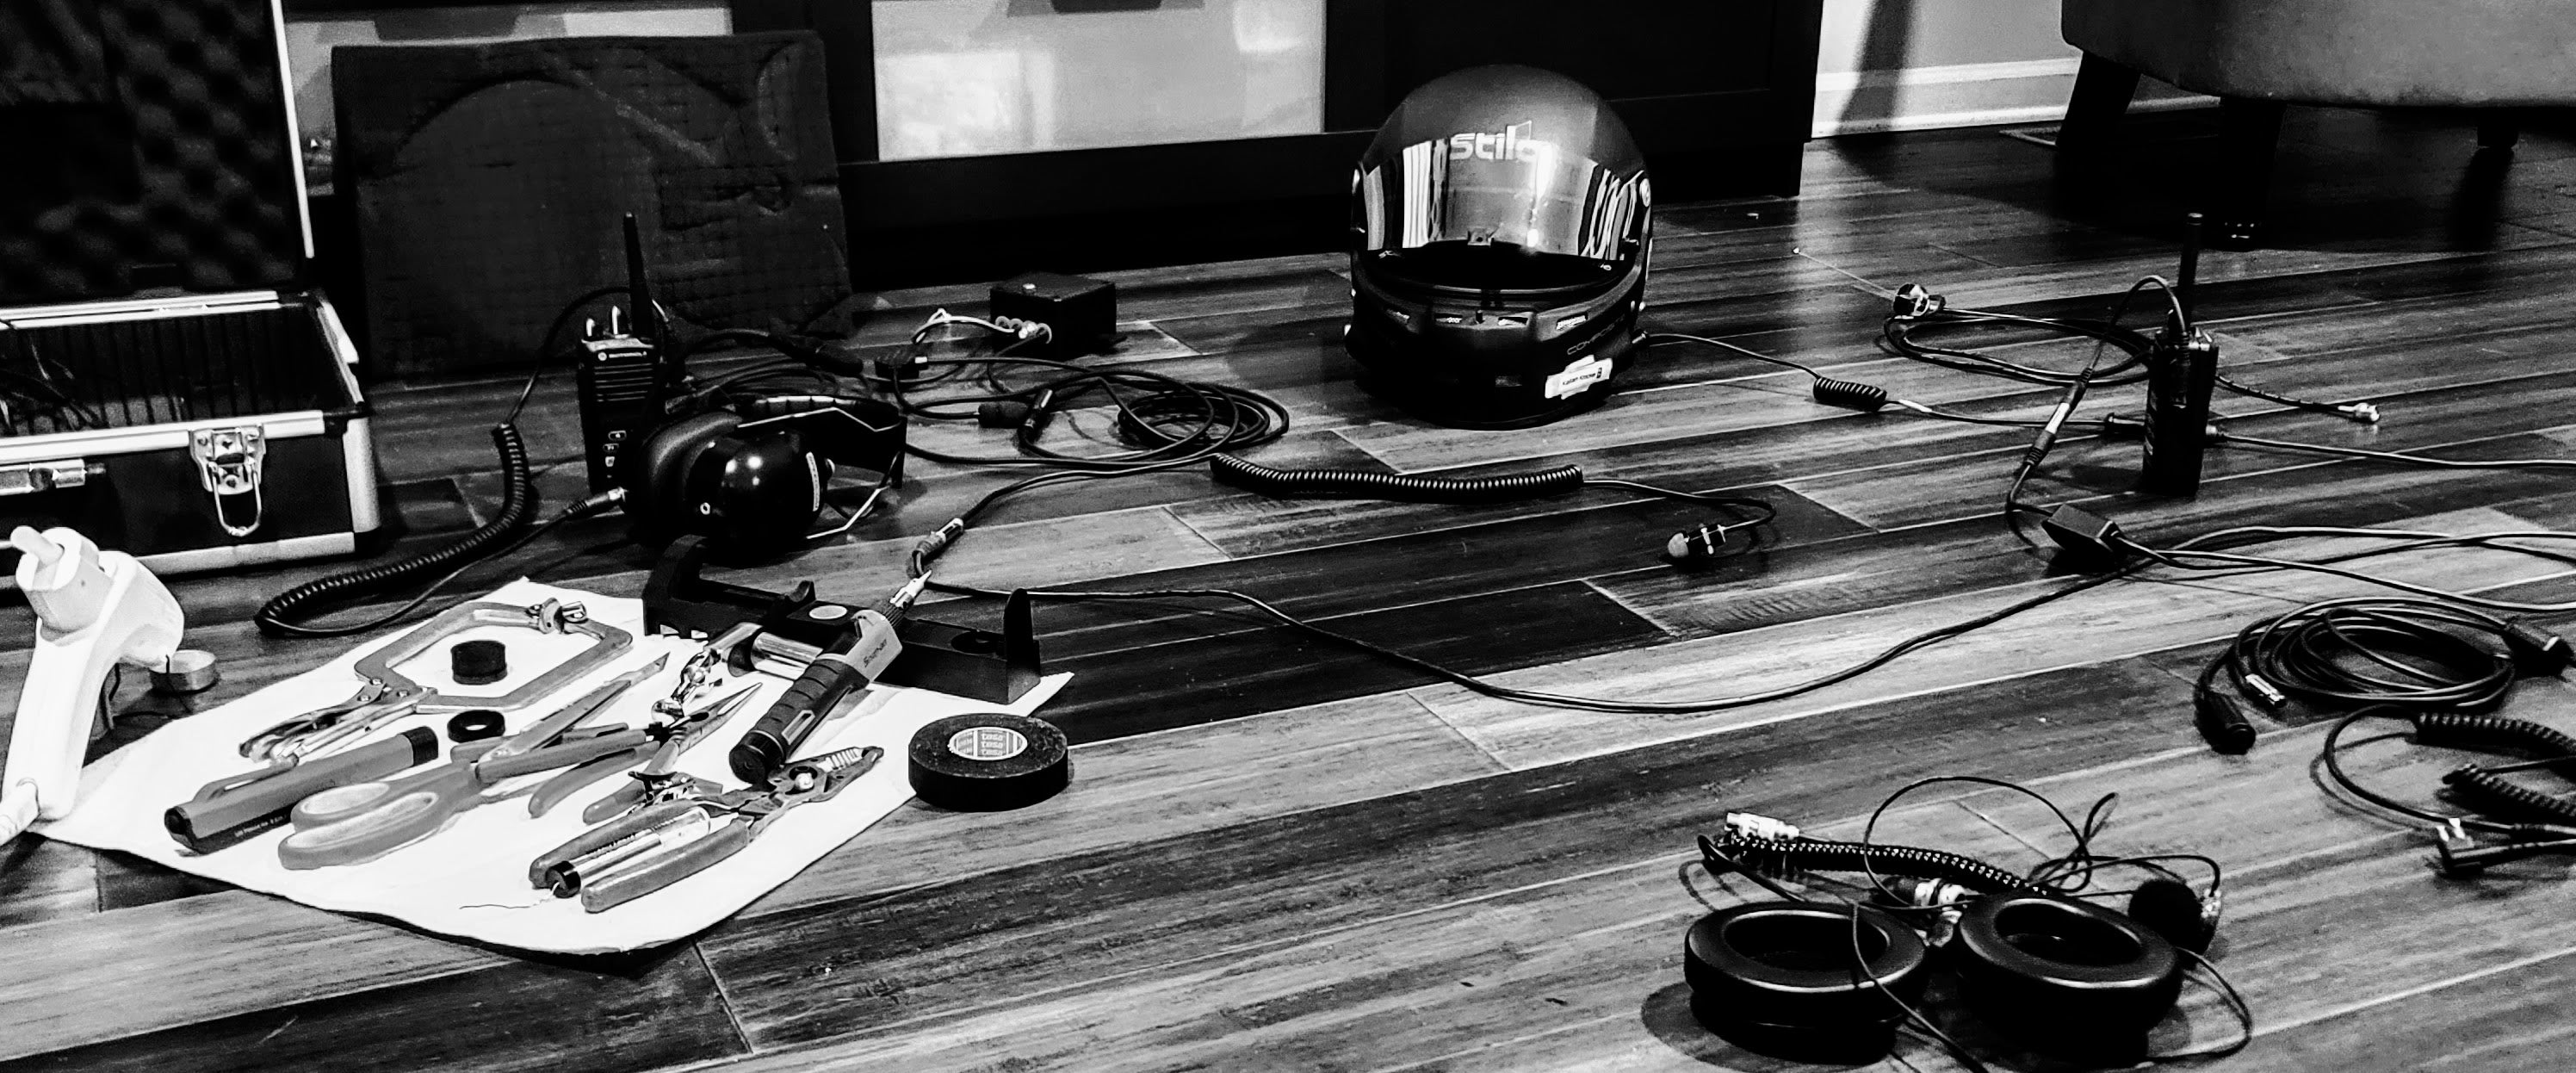
If you do in fact have a broken wire it's no big deal. You need to clean up all of the components and resolder the connections. First, use a small knife or pick to remove the old glue and sealant. After that is cleaned up, go ahead and heat up and remove any old wiring from the button's terminals.

Now you will need to cut a little of the original wires back to access undamaged wire. Once you have done that, use wire strippers to remove a small amount of wire insulation. At this point, you can resolder the wires. Make sure to get the terminals hot enough to make a good connection but not so hot to damage the switch.

Once the wires are reconnected, you will need to isolate the connections and add some reinforcement to prevent future failures. I like high-temperature hot glue for this; it sets up very quickly and offers more stability to delicate wires than any other sealant I have used. It also doubles as the glue to hold the boot on!

Glue the boot on, and you are ready to rock again! For this, I use the tip of the hot glue gun to reliquify the glue, then quickly roll the boot into place.
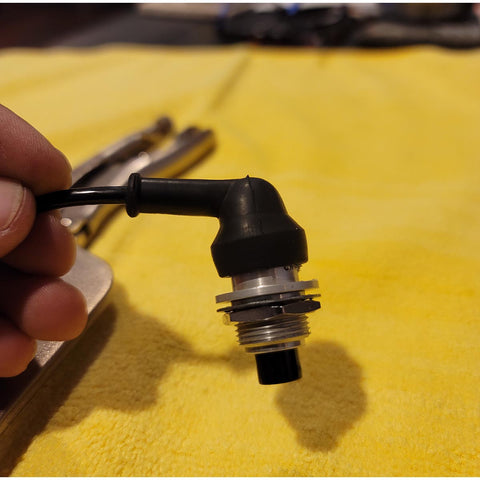
This will help keep those pit stops on schedule and the driver data flowing!
Now if you got this far and feel like f*** all that work, we can help with that too. I like the way Speedcom terminates their products, they get the need for robust components. https://www.ogracing.com/products/push-to-talk-button-hole-mount

